Custom FPV Drone
Specifications
Design Iterations
Version 2 - Moving toward Carbon Fiber
Details
Redesign
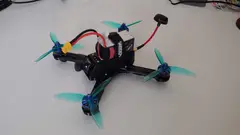
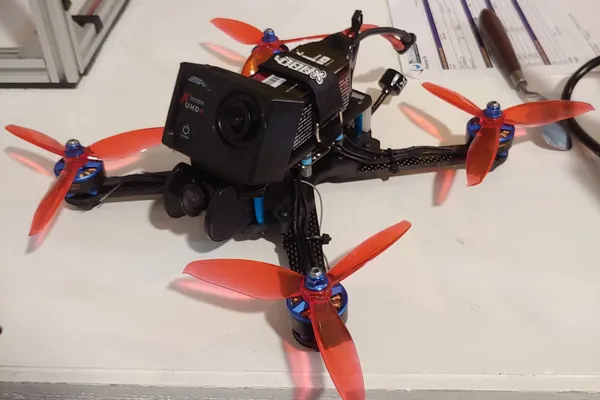
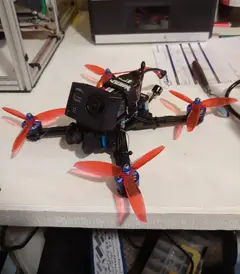
After crashing and breaking the v1 frame twice, I wanted to move to a design that would allow me to easily replace the arms if they broke. I also wanted to make the main body more dense while improving airflow over the electronics, so I moved to a more traditional design using a flat top plate and standoffs. However, I made custom camera mounting / guard rails, and a rear plate for a panel-mount XT-60 connector. I laser-cut these flat pieces out of HDPE, and they've had no issues. The VTX still mounts to the underside of the main body to keep the video signal away from the high-power electronics in an attempt to reduce noise. Since the arms were the most likely to break, I cut them out of a 3mm carbon fiber sheet using a CNC router.
Iteration
Initially, I still wanted to 3D print the central frame piece, so I added stiffening ribs to the underside and printed it out of a few different materials. I tried HDPE, but it was not stiff enough, and the drone suffered from severe vibrations that made it impossible to fly. I then tried PC-CF (carbon fiber reinforced polycarbonate), which was plenty stiff, but it was relatively brittle, and it cracked at an arm mounting area during a somewhat hard landing. In replacing the arms with carbon fiber, I had moved the failure point to the main body. In the end, I capitulated and made a carbon fiber main body, which was stiff, light, and strong.
Other Improvements
- Flashed the open-source Bluejay firmware to the ESCs, which allowed me to turn on RPM gyro filtering
- Adds dynamic notch filtering based on the RPM of each motor, reducing IMU noise
- Added a TPU mount for an action camera, which allows me to record high quality footage of my flights
- Added TPU bumpers under each motor to act as landing skids
- Replaced VTX antenna with a more compact, higher performance option
Loading 3D viewer...
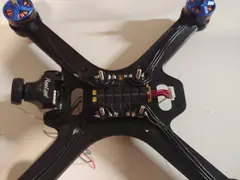
The 3-piece printed frame: a thick main X piece carrying the components, a top cover over the flight controller stack, and a bottom cover enclosing the VTX
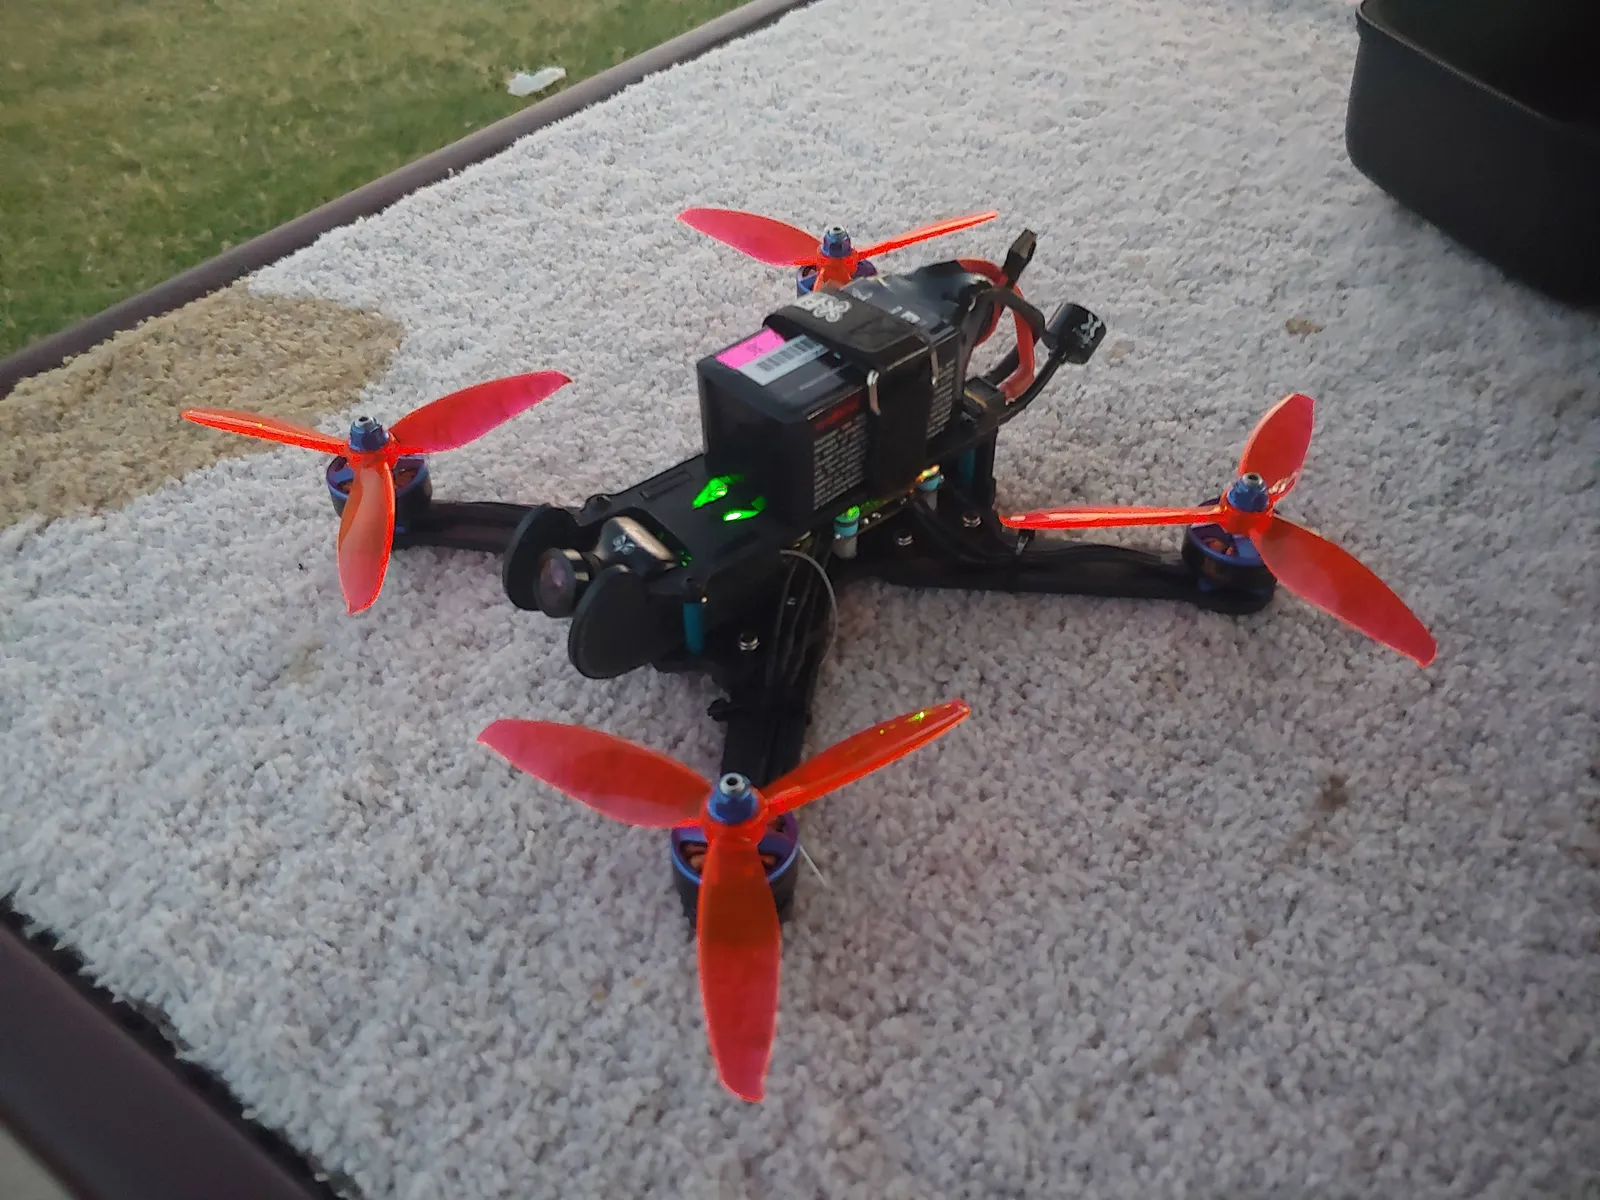
v2 fully assembled, with its carbon fiber frame and enclosed electronics
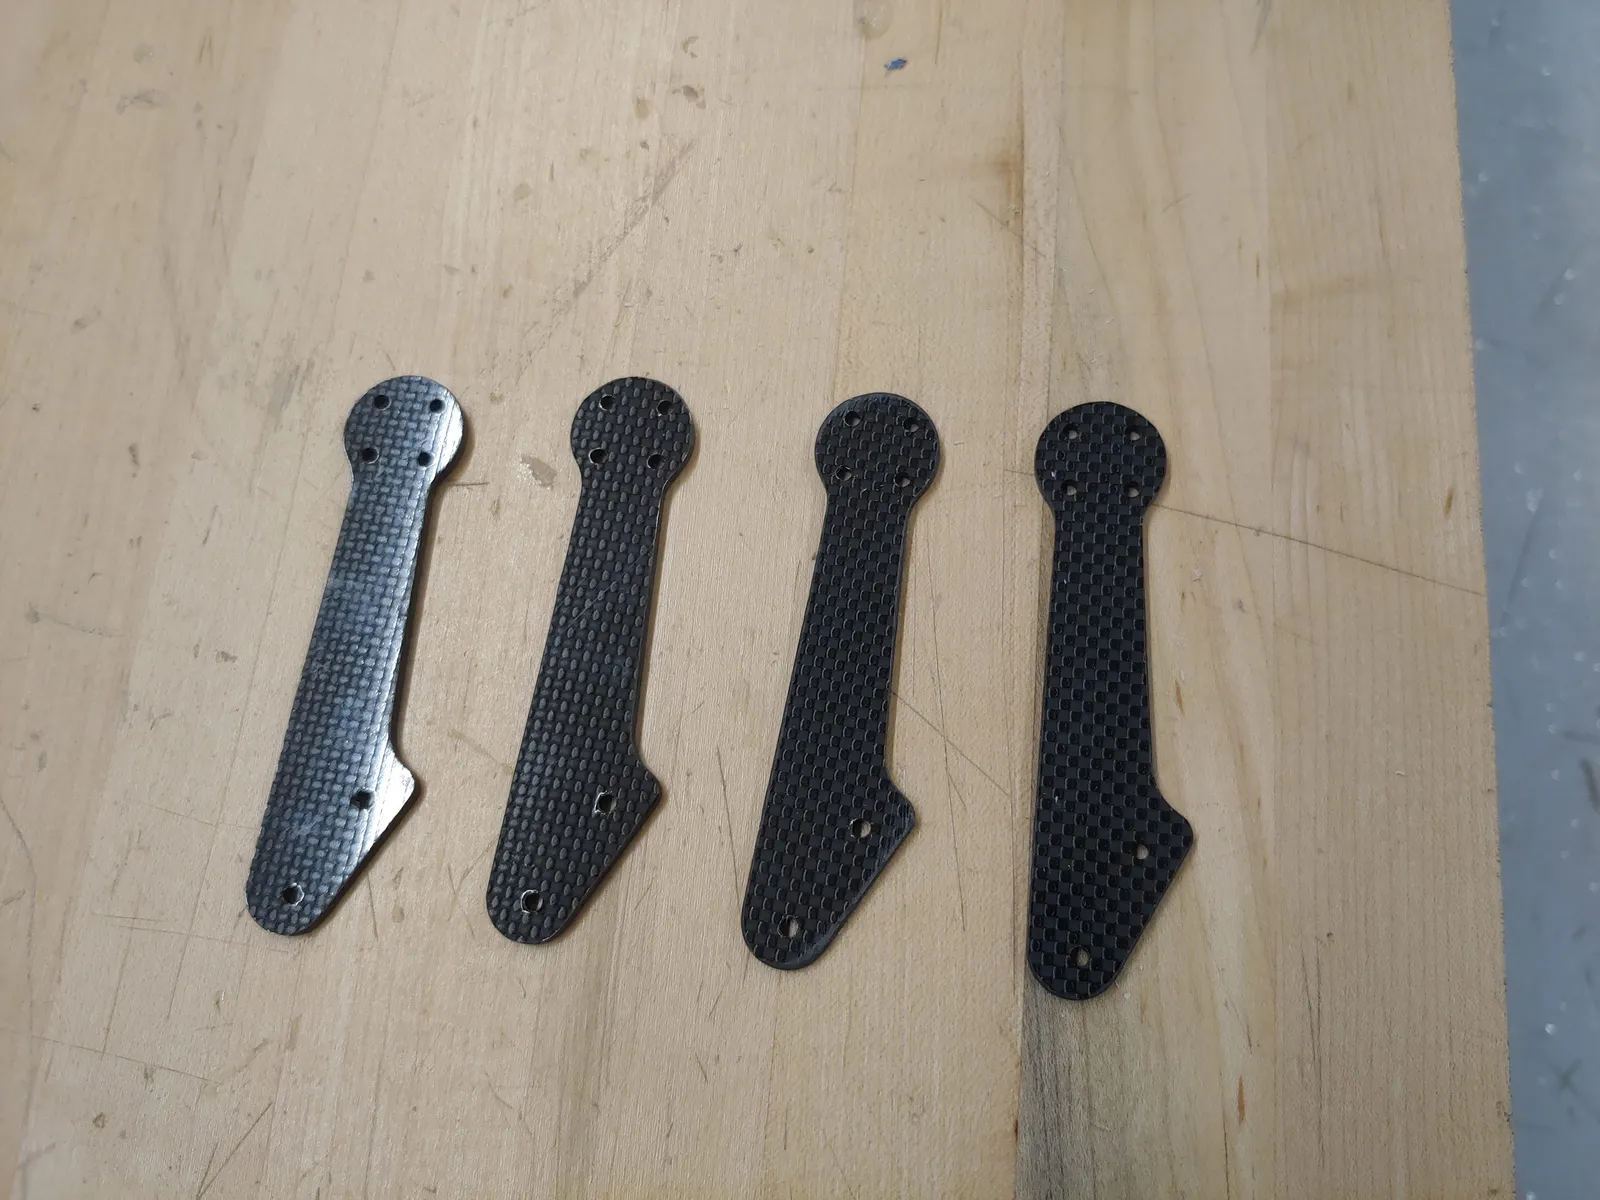
I cut the v2 arms out of 3mm carbon fiber sheet using a CNC router. Each arm mounts to the main body with 2 M3 screws, and are easily replaceable if they break
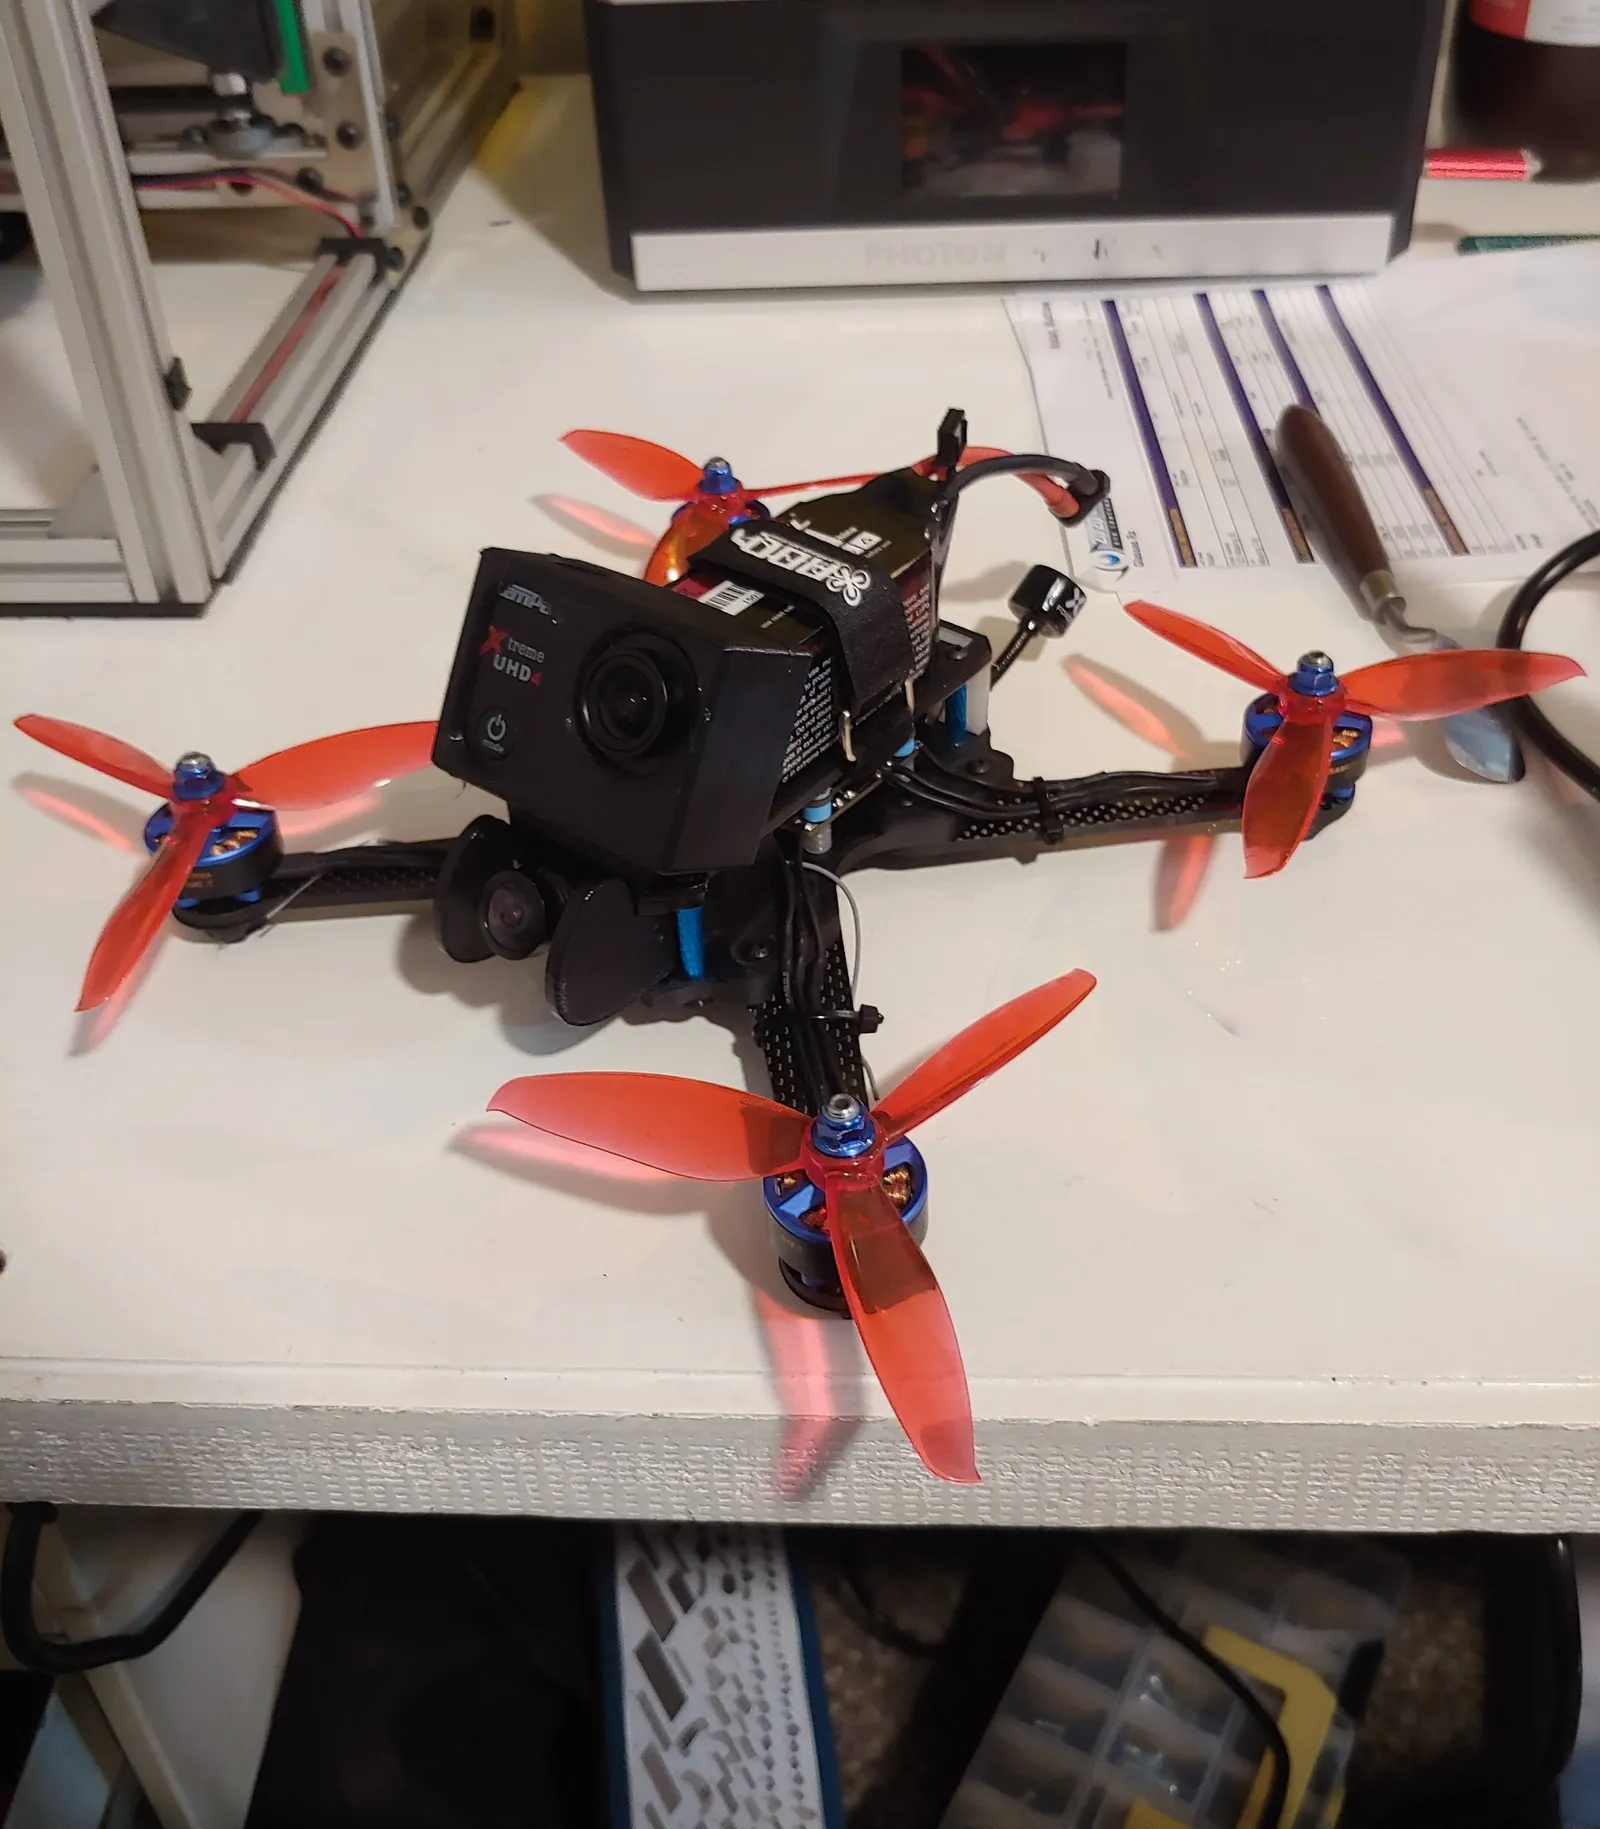
The v2 frame has a TPU mount for an action camera, which allows me to record high quality footage of my flights
Version 1 - Fully 3D Printed
Details
Background
Shortly after finishing my custom 3d printer, I was looking for new projects I could use it for. When I stumbled across FPV drone footage on YouTube, I was hooked. Rather than purchasing a pre-built frame, I was determined to design mine from scratch. In general, the FPV community advises against fully 3D printed frames, as they are typically not rigid enough to prevent vibrations from affecting the flight controller, and they don't handle crashes well. However, I wanted to try anyways, with some newer FDM materials that I had not seen other people try.
Approach
I designed a 3-piece frame, with a thick main X piece that mounted all the components, a top cover to enclose the flight controller, ESC, and reciever, and a bottom cover to enclose the VTX. The frame featured struts underneath each arm to increase the stiffness. I used Polymaker CoPa, a copolymer of nylon 6 and nylon 6/6, which is marketed as a high-strength engineering material.
Performance
In terms of flight performance, the drone was very stable and responsive. The frame was sufficiently rigid to prevent significant vibrations from affecting the flight controls, and it was fast. However, my piloting skills were a limiting factor, and when I inevitably crashed, one of the arms broke. This happened twice before I decided to move on to a new design that prioritized repairability.
Loading 3D viewer...
The 3-piece printed frame: a thick main X piece carrying the components, a top cover over the flight controller stack, and a bottom cover enclosing the VTX. The battery is mounted to the top of the canopy with velcro straps
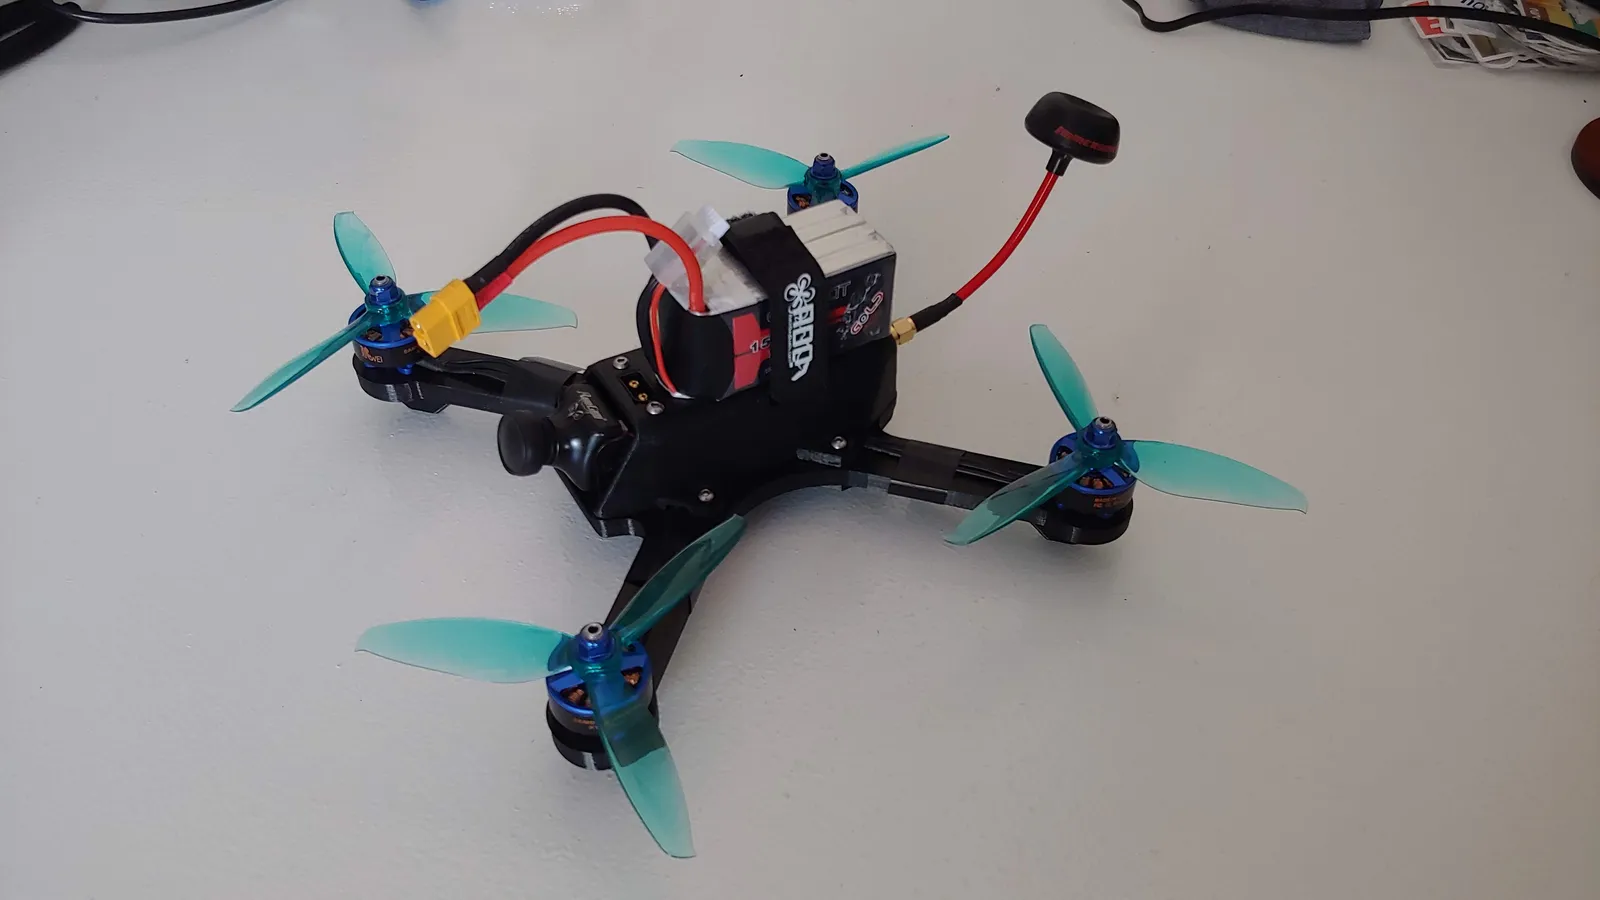
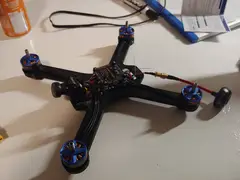
v1 fully assembled, with its 3D printed frame and enclosed electronics
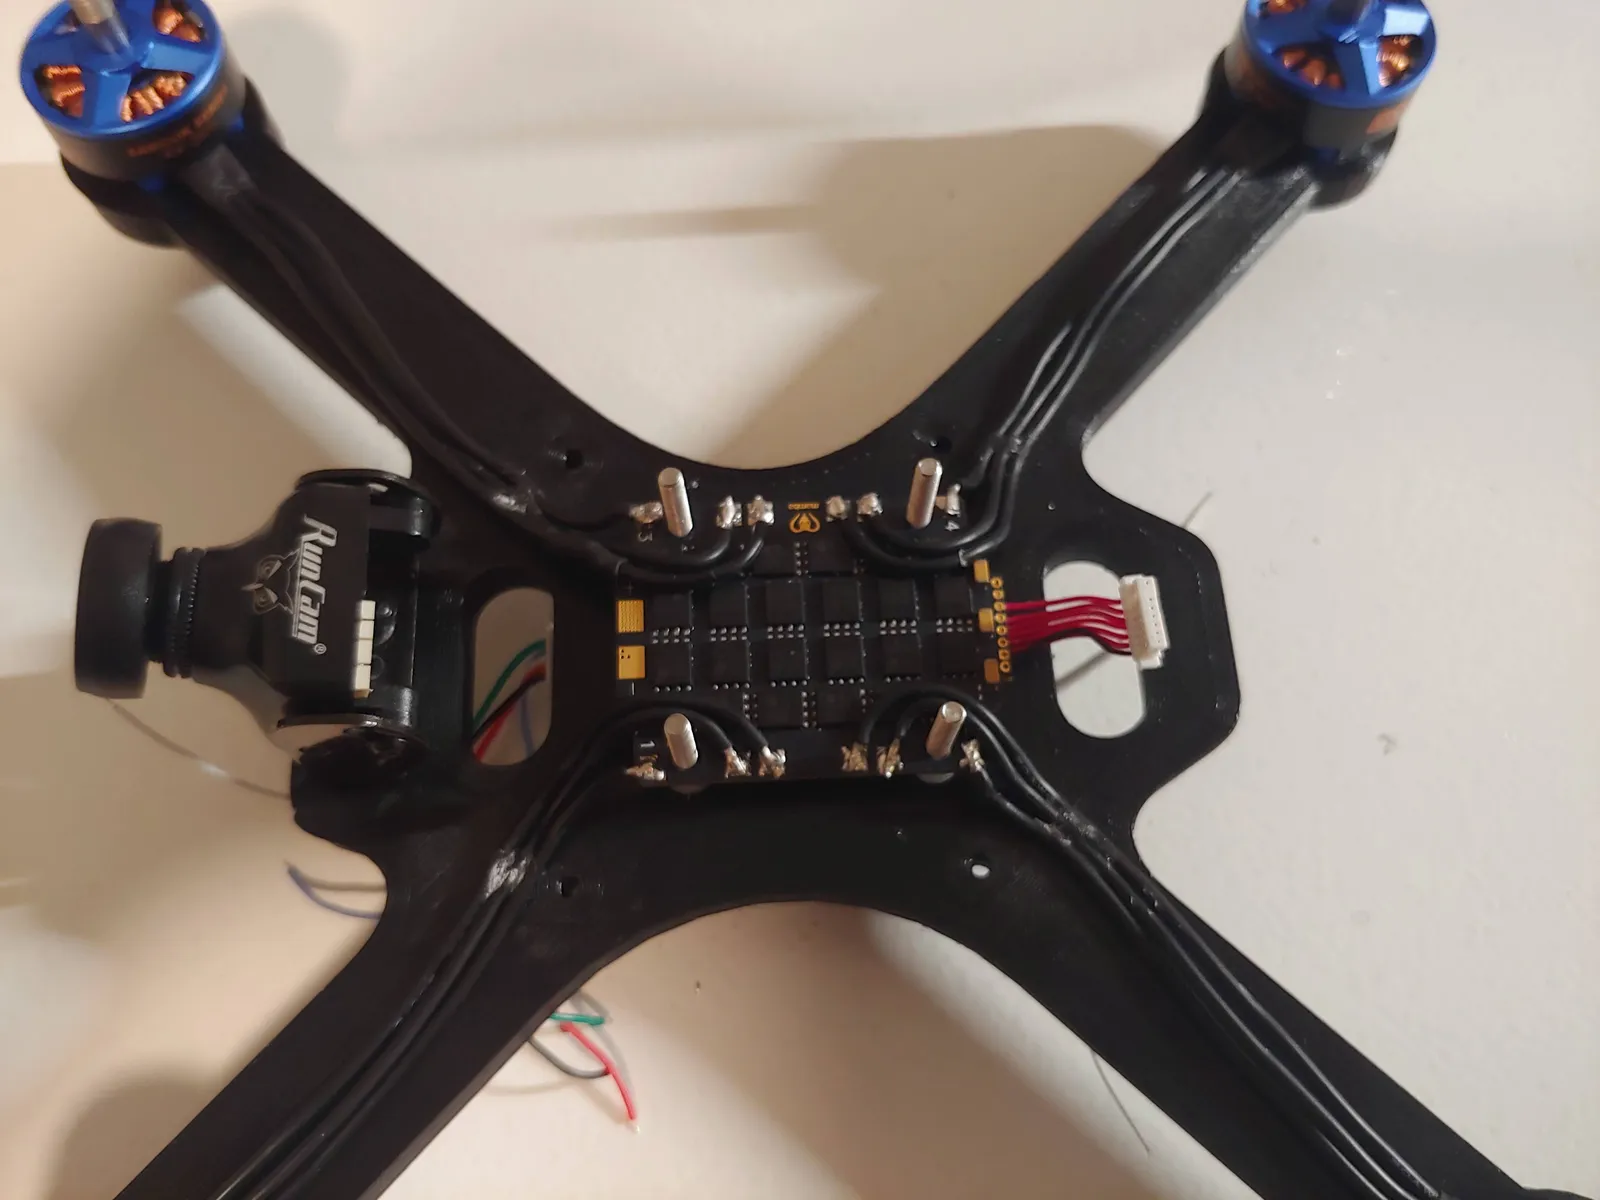
Starting work on the electronics with the ESC wiring
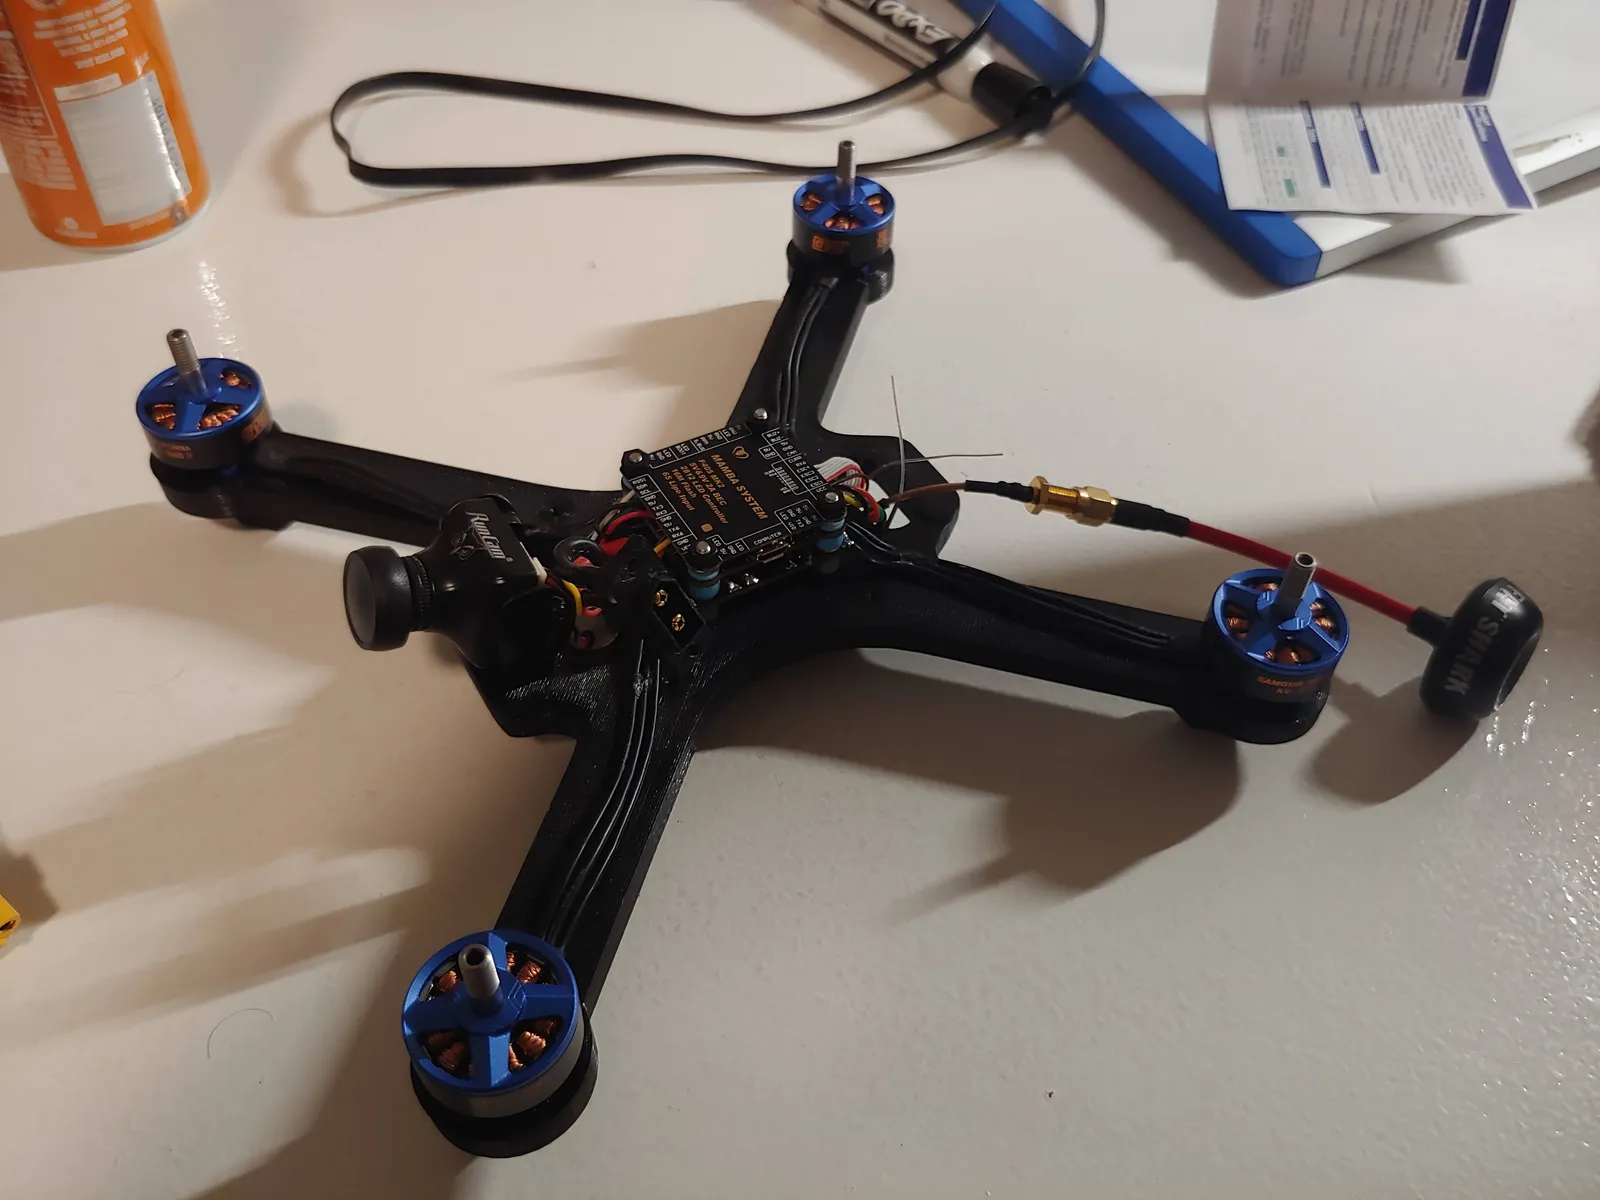
Flight controller is mounted on top of the ESC, and the VTX is mounted underneath the main frame piece